

Step 2
To make the background less expressive, turn the Opacity down.
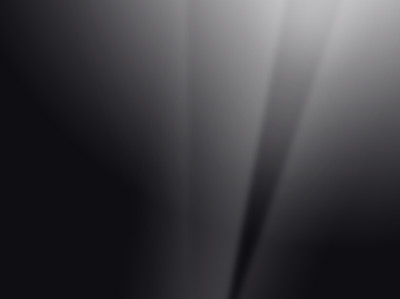
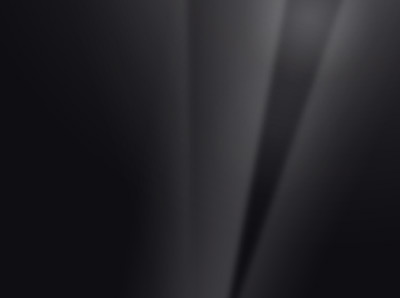
Step 3
Merge the layers together (Ctrl + E). Then blur them with the Gaussian Blur filter. A small preview of whole document follows.

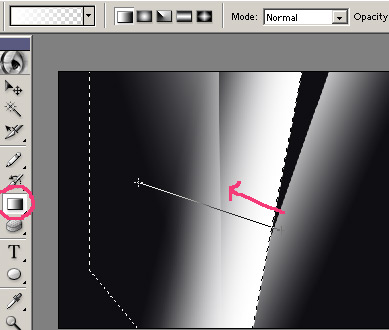
Step 4
To make it more expressive in some places continue drawing radial gradients from white to transparent.
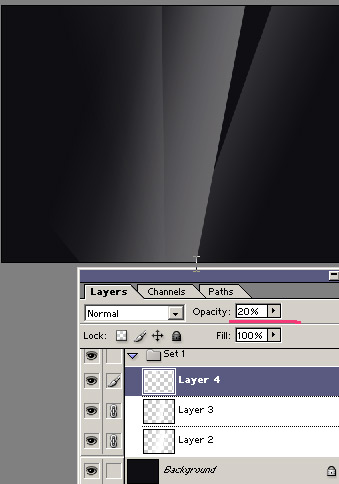
Step 5
Turn its opacity to a hardly remarkable level.

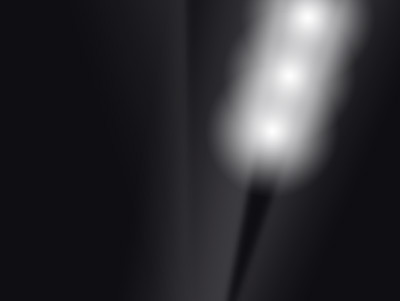
Step 6
Well, there is never enough white to transparent gradients, right?
Step 7
Just don't forget to turn the opacity down wisely.
Step 8
You can make the background more interesting by copying all the layers and flipping them (Ctrl + T), or move them a little.
Step 9
256 shades of grey aren't enough for this gentle manipulation.
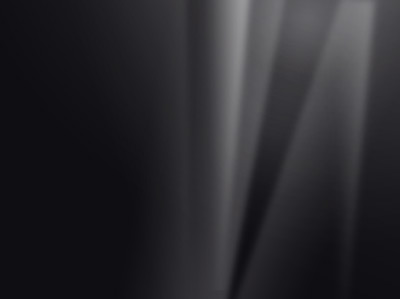
Step 10
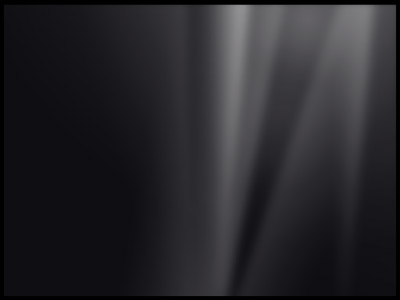
That is why we should merge the layers together, and blur them again a little. That is what solves the rough gradients, but another problem arises - the picture darkens on the sides, and the dark parts make strange "waves."
Step 11
This can be fixed with a larger document than the screen resolution, or add a frame that is wide enough. And remember that for next time. That is how we solved random gradients on a background.
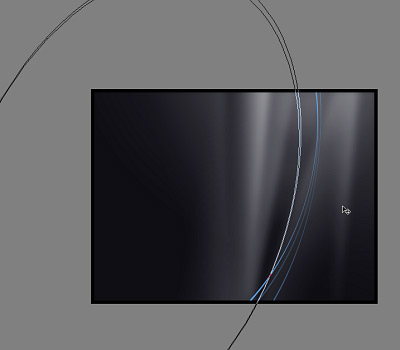
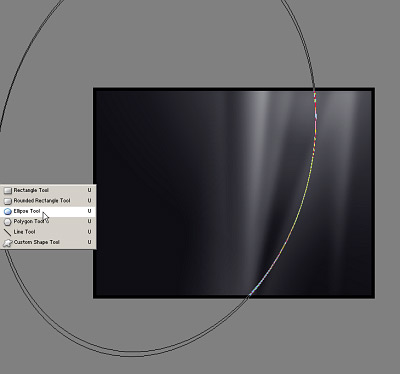
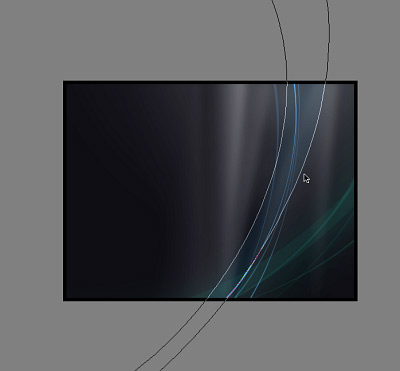
Step 12
Now we can start doing the foreground with blue and green curves. Start with drawing a huge ellipse with the Ellipse Tool. Pick the Path Selection Tool (A). Then select the ellipse, copy it (Ctrl+C), then insert it (Ctrl+V), and then transform it (Ctrl + T) to make it smaller. Set the drawing style for this path to subtract, so we see only what is between these two ellipses.
Step 13
Fill the layer with a blue color (#62AAF4). Then copy, move, enlarge, make it smaller, and turn the Opacity down or up. Do this a few times.
Step 14
Then repeat these actions with the green (#20EDC4) shapes.
Step 15
Next I decided to darken the gradients in the background a little, as they get too much attention. This should be better.
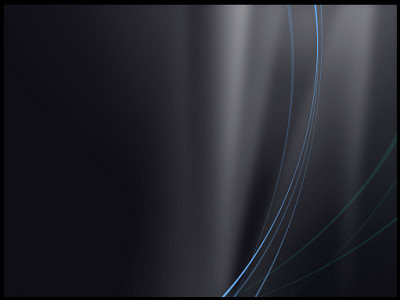
Step 16
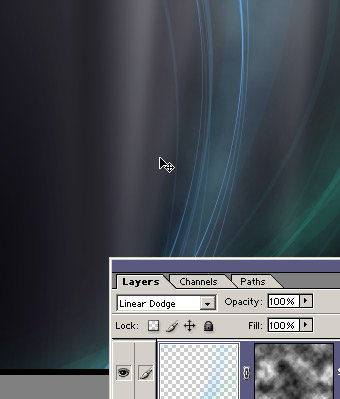
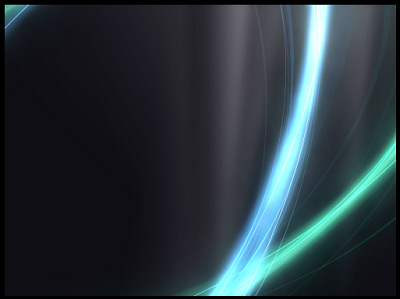
Continue with creating larger curved shapes. Then blur those shapes, which will give that extra glow effect. Notice the big blue curves being created in the image below.
Step 17
Next we'll make big curve shapes for the greens as well. Those big shapes are the previous ellipses copied. Then with Path Selection Tool, we select one smaller ellipse that gets smaller again. See the image below.
Step 18
The colors of those shapes are still the same, just the Opacity is turned down. Sometimes, the opacity is turned down to a hardly noticeable level of (5-10%), as shown below.
Step 19
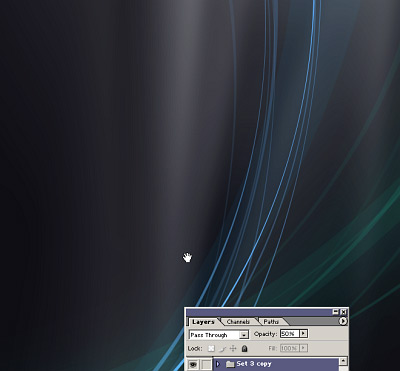
Place all the blue and green layers into a new folder. Then copy that folder, move it sideways, and turn it a little.
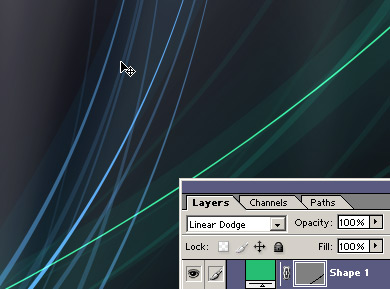
Step 20
Let's get started with the lighting part. The first step is to change the layer's interaction to Linear Dodge .
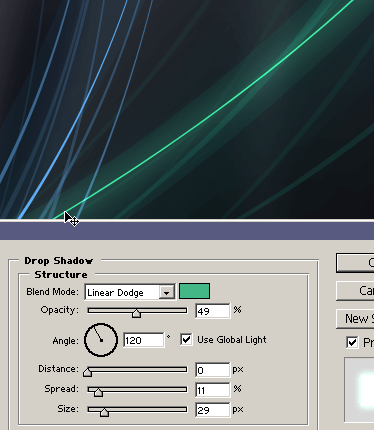
Step 21
The second step is to add the layer effect of Drop Shadow. Set it to a large size with the color the same as the shape in the layer (blue, green). Also, set the interaction to Linear Dodge again.
Step 22
I don't have enough green layers in the document, so I copy some more.
Step 23
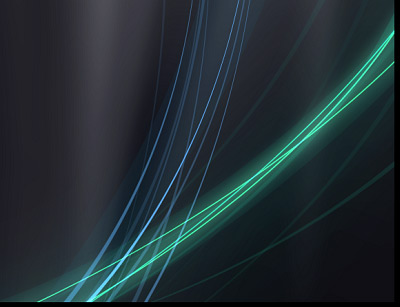
Copy the layer styles to every blue layer (just change the effect color to blue). Part of the design is shown in the following image, which is the result we want so far.
Step 24
To achieve the bright glowing light look, we need to repeat the same things over and over again. You can use the previous big layers, merge them together, and set their interaction to Linear Dodge. Then you can add a mask layer. Then go to Filter > Render > Clouds in this mask. That makes the layer visible in only some places.
Step 25
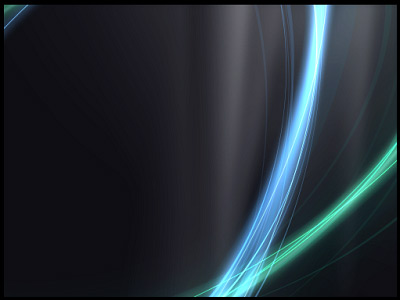
If you make all layers visible, the result becomes more expressive.
Step 26
We can do the effect manually as well. For example, create a new Adjustment layer with the Brightness & Contrast turned up. Fill the layer mask with a black color, which makes the effect visible nowhere. Then start drawing in the mask with a white soft brush. The brush revels the effect. It increases the brightness only where you want it to. This technique may be used for the final brightening of both the blue and green curved shapes.

Step 27
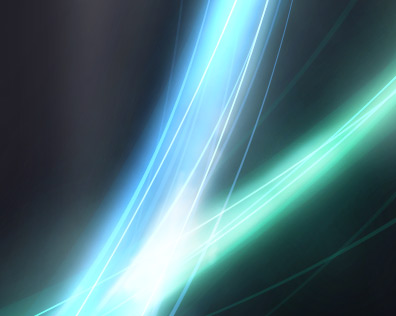
Here is the preview at 100% size. Using the adjustment layer generates good looking overburns.
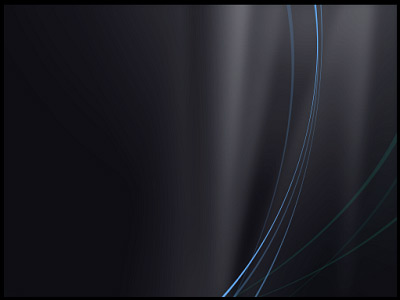
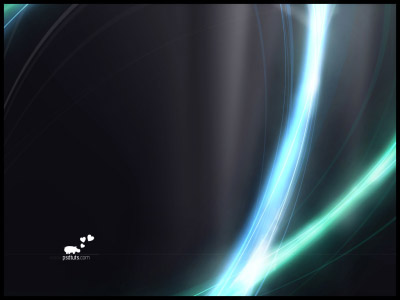
Final result
Your image is complete. Again, do not hesitate to experiment. You are only limited by your computer performance. Click the following picture to see the result at 100% in 1024px by 768px resolution.
Conclusion
It is not difficult to change the final resolution because every single layer was larger than the document window. Either you can enlarge the document size (shapes are in vectors, so there are no quality defects), or you can enlarge the canvas size (the layers stay the same, but you make visible the parts that were hidden before).
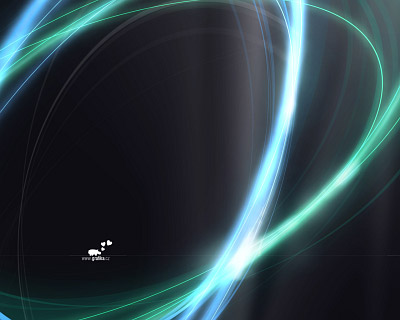
Canvas size manipulation was used when preparing the following picture at 1280px by 1024px resolution. This one deserves some adjustment, but it's up to you now. Good luck with your work!


0 yorum:
Yorum Gönder